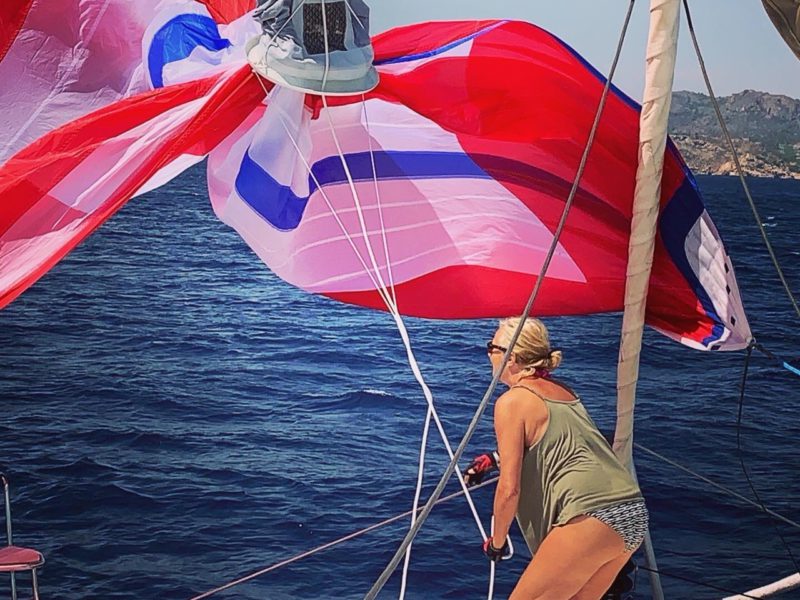
Making your main halyard work
All owners complain that it is difficult to lower the mainsail. There are two area’s of concern:
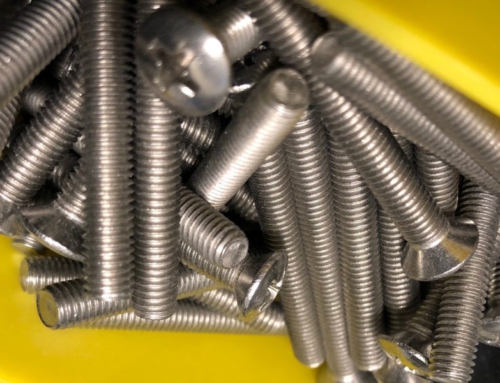
The line
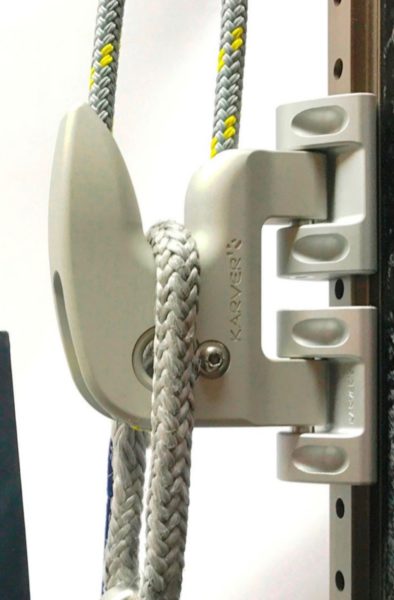
The standard halyard is a 12mm thick line with polyester core and cover. If you change to a size smaller, 10mm, then it will be a lot easier to lower the sail, as this line has less friction in the Antal jammer. But you will need a stronger material. A budget Dyneema, a mixture with other cheap fibers, will do.
If you really want something nice that lasts:
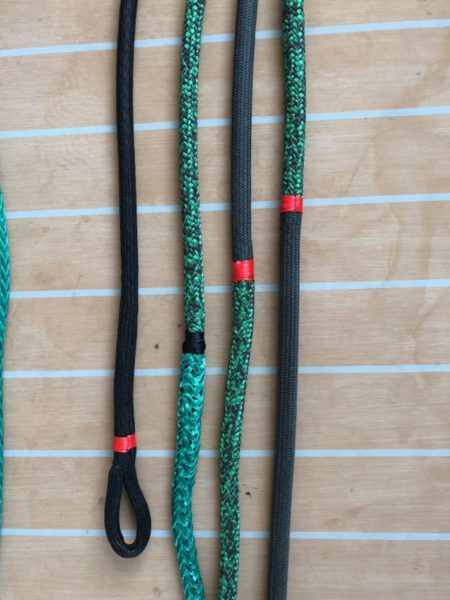
Then get a 10mm Polyester/Technora line with a SK78 Dyneema coated core. The cover can be stripped where it is not required. This reduces the friction of the line over the sheaves drastically. Technora is wear resistant. Then add a Dyneema cover over the first 4 meters at the dead end of the halyard. This protects the bare Dyneema core line against wear over the sheeves. Where the jammers have to hold the line and in the location of the winch, add a Technora cover. This material is wear resistant and has a good grip. The additional cover over the existing cover increases the line thickness in the jammer, thus increasing the holding load. When this cover wears out, just replace that cover. The underlying line is still as new. It is an investment but cheaper at the end of the day.
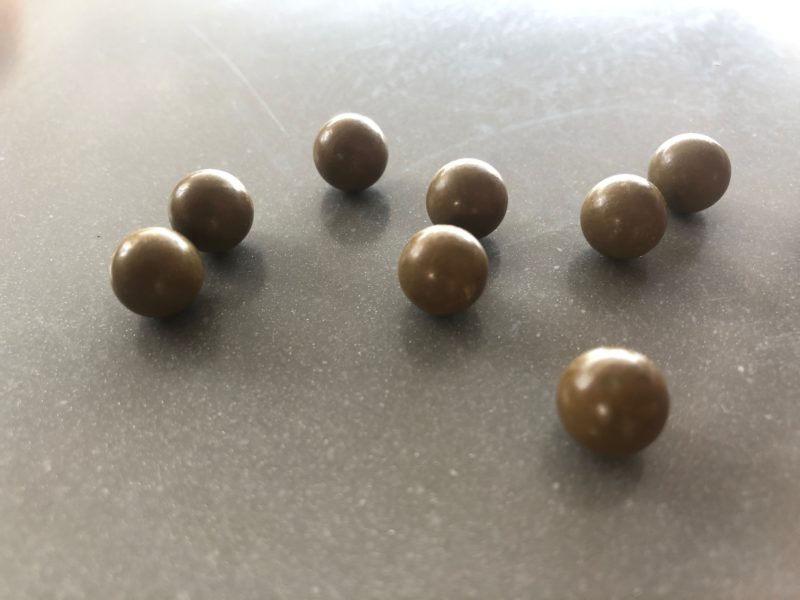
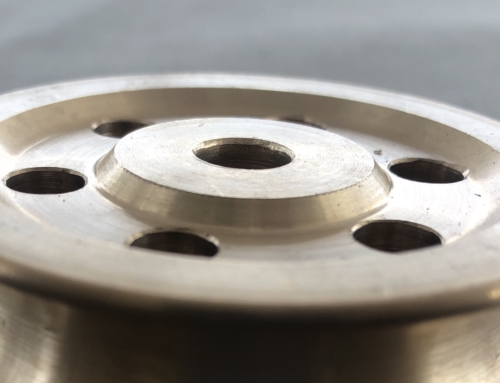
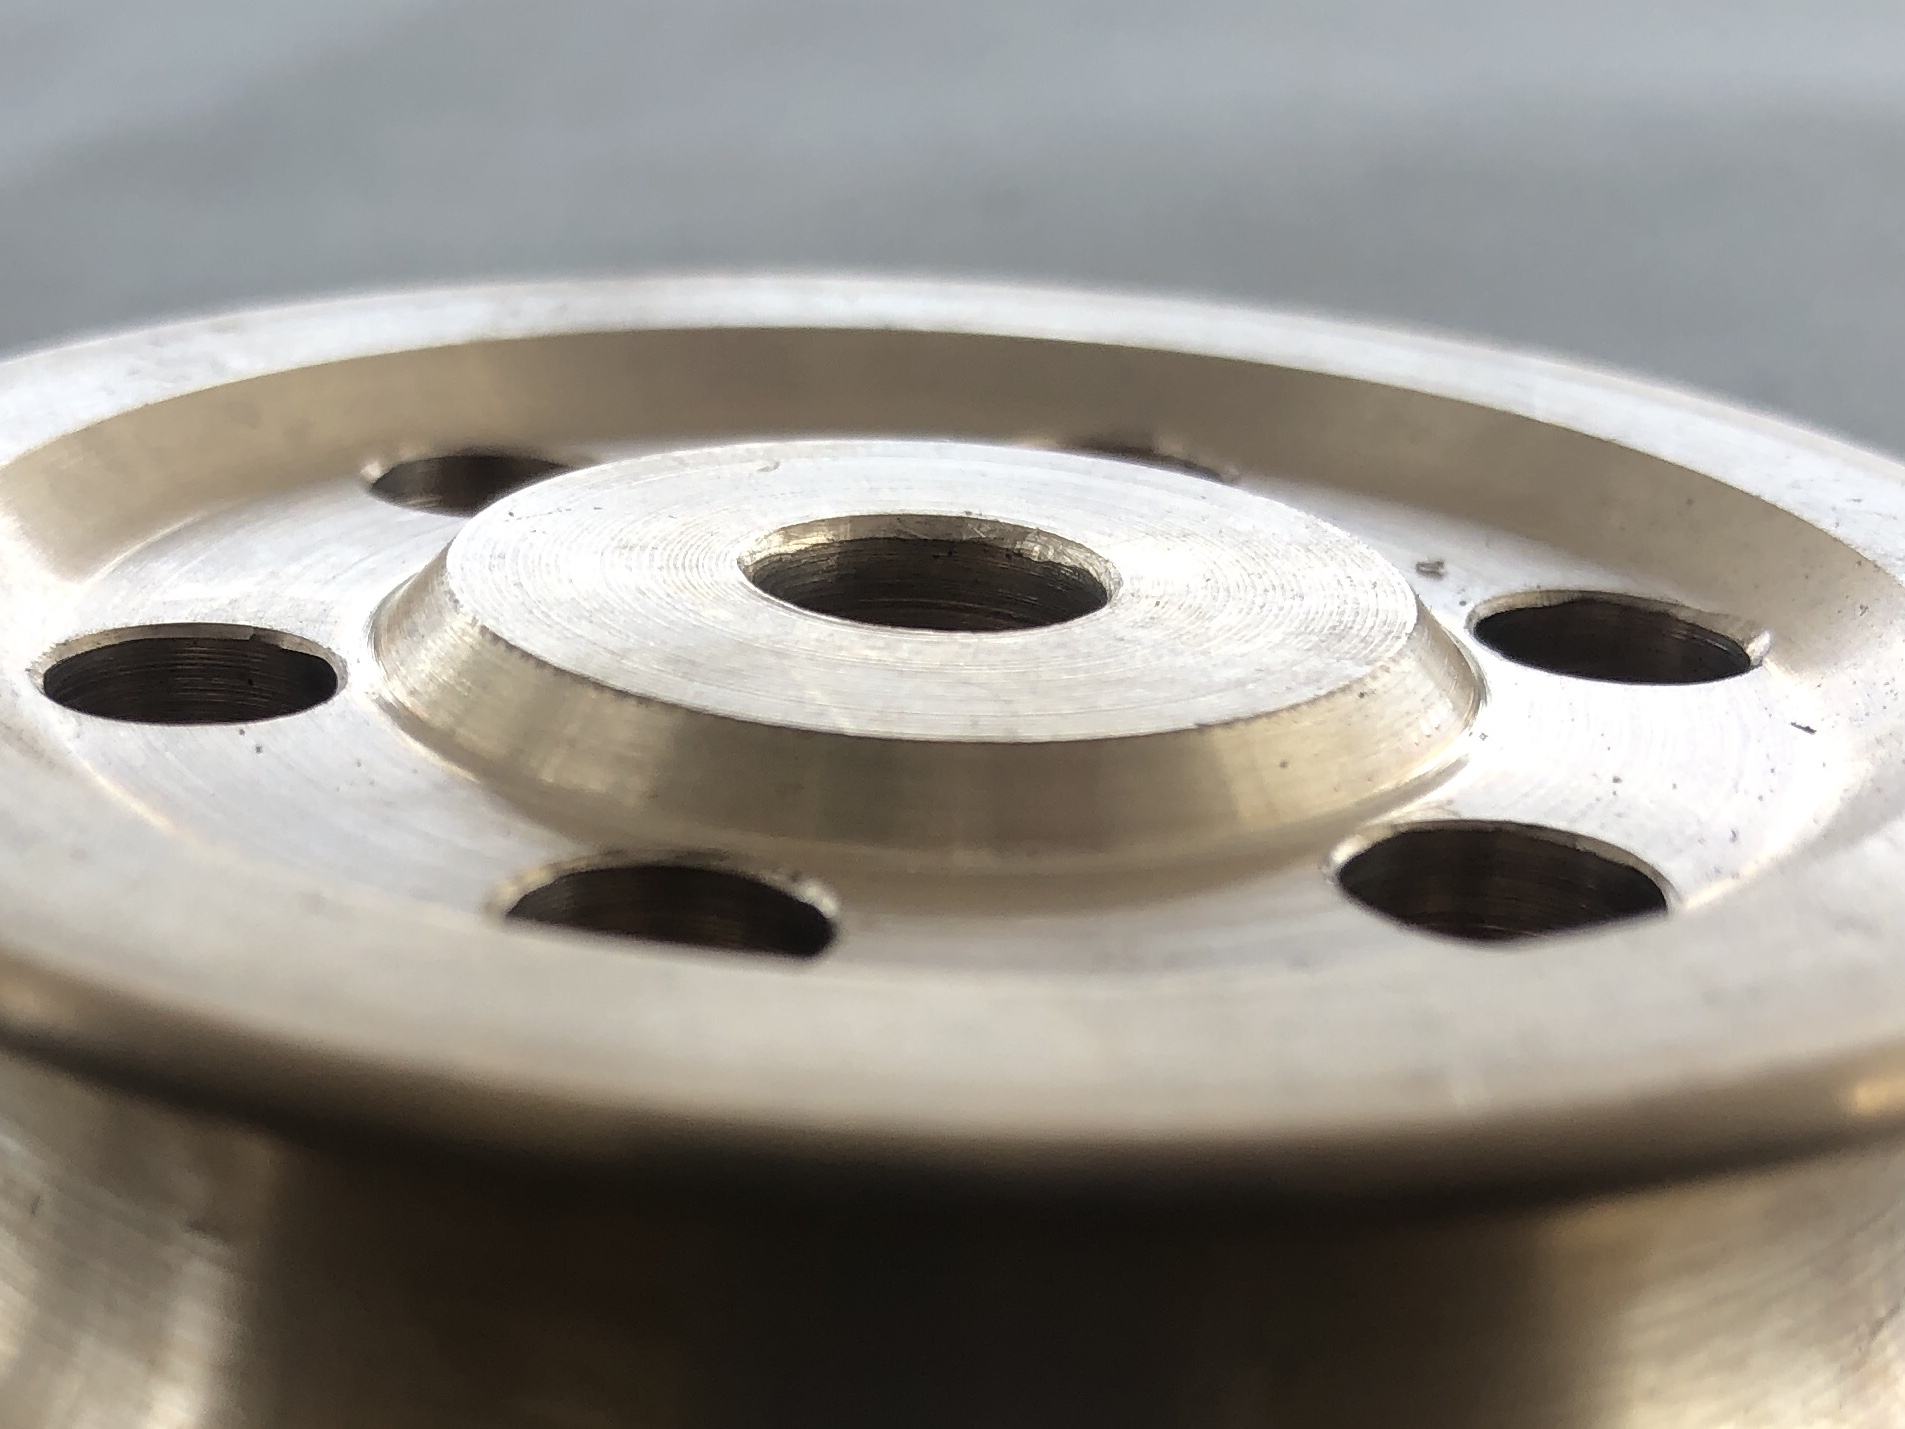
Your balls.
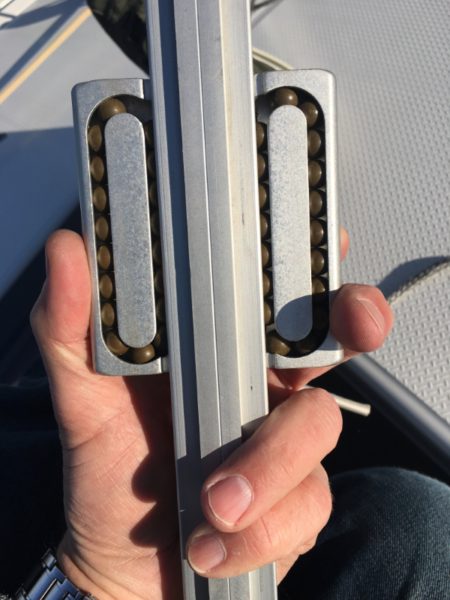
The batten cars have roller bearings, except the top four cars. They have slider bearings (stronger). Balls should roll, so clean hem with fresh water. If you ever have your mainsail off, then check the cars. Riggers don’t understand that a ball bearing will only roll if there is enough space between the balls. Always put one ball less in a ball bearing race than you can fit! You can check if your cars roll by moving them up and down a bit on the mast track. I had to remove a ball from each race to make them work properly. Using McLube OneDrop refurbishes the ball surface. One drop per ball race is enough. Use it on your traveler car too. If your balls start sliding because of dirt or too little space between them, they become square and it gets worse. You can check if your balls are still round by rolling them over a hard and flat surface. If they appear ‘drunk’ then replace them. Torlon (the green) balls are expensive so it pays to clean the bearings often.
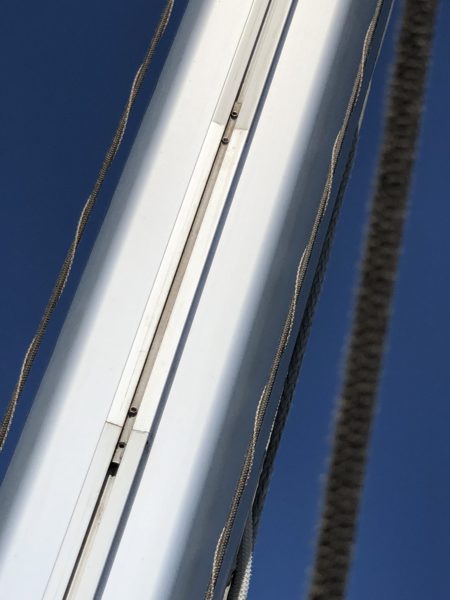
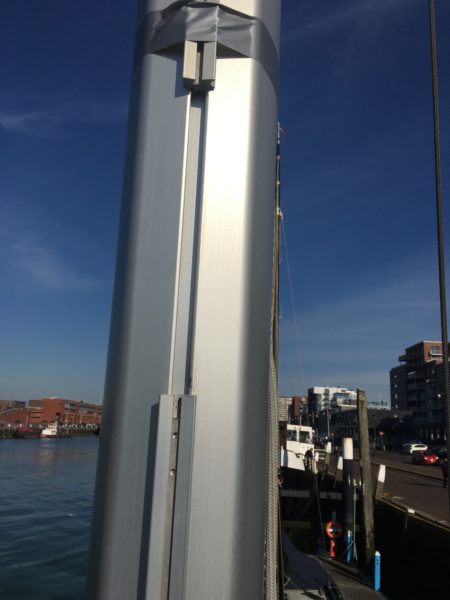
Removing and fixing cars
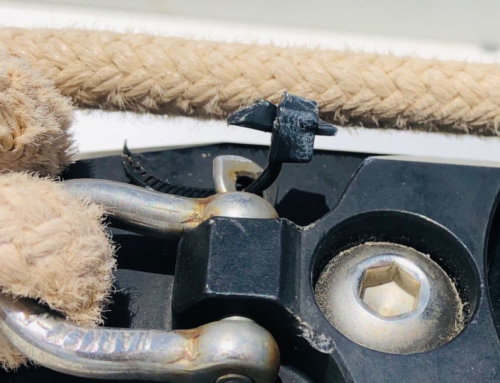
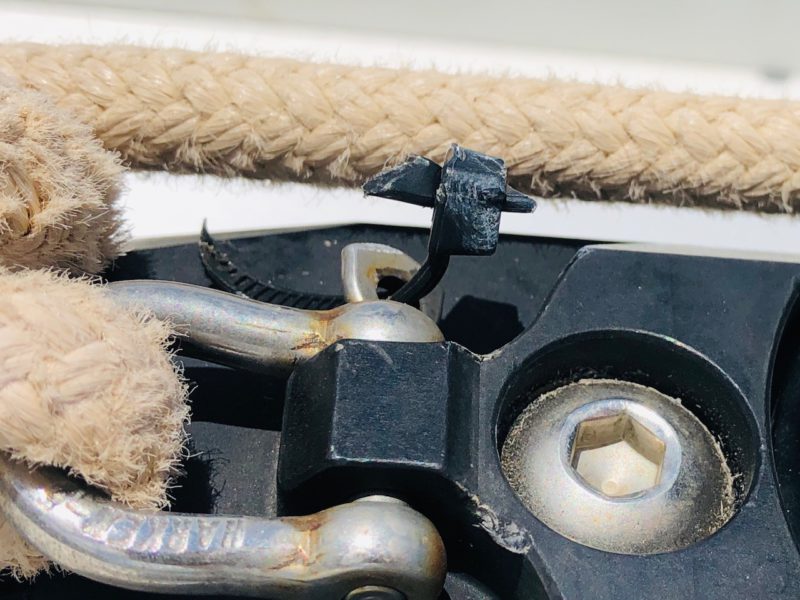
There is a gate track about half a meter above your headboard car when the sail is down. This is a short section of track that allows you to take the cars off the track. First disconnect the mainsail from the cars by removing the vertical pins in the cars. They are held in place by a LN grub screw, loosen these first.
Lower the mainsail track a little. There are two nuts that need to be loosened. The are located at the bottom of the track. With a spanner you can loosen the lock nut and then adjust th eother nut to lower thetrack a bit. this creates some space for the gate track to be removed.
Remove the four small grub screws from the gate track. You can then slide the metal plate up or down, which releases the gate track.
Move the first four cars that have slider bearings above the gate track and keep them there with duct tape or a halyard. Then move the first ball bearing car onto the gate track and take them off the mast together. Don’t slide the car off the track yet, because the balls will be bouncing all over the place. Take a box and do it in there. Check each ball for roundness as described above. Reinstall on the gate track, with one ball less than you can fit in each race. Place the gate track with the car back on the mast and move the refurbished car up, out of the way. Keep it there with tape or a halyard. Continue until all cars are done.
When you connect the mainsail again with the vertical pins, then put some ‘Tefgel’ on the pins. It is a bit messy but you will be happy some day in the future. Check my post about galavanic corrosion.

Thanks for your continued dedication to this valuable resource!
Sorry, I’m a bit confused…
“Polyester/Technora line with a SK78 Dyneema coated core. The cover can be stripped where it is not required. This reduces the friction of the line over the sheaves drastically. Technora is wear resistant. Then add a Dyneema cover over the first 4 meters at the dead end of the halyard. This protects the bare Dyneema core line against wear over the sheeves.”
By the “dead end” do you mean the part secured at the top of the mast?
Why would you have to add a Dyneema cover to the first 4 meters at the dead end? Firstly, there’s already a cover there, just not Dyneema, and secondly the first 4 meters hanging from the top of the mast do not run through any sheaves or anything else. It’s just “hanging” there (until met by the rising hook at the head of the sail, which is true for the height of the mast, not just the last 4 meters…)
I’m new to this but thinking of replacing the FP supplied main halyard. My thought process is to purchase 60m TN racing line, which already has Technora cover over the Stirotex (same as Dyneema) core, leave the cover at the splice to the top of the mast, remove all remaining cover except for that which can be used by the winch / clutch, and double up the cover at the winch where the sail is fully up starting at the 3rd reef all the way to the free end of the halyard. I feel like I’m missing something…